
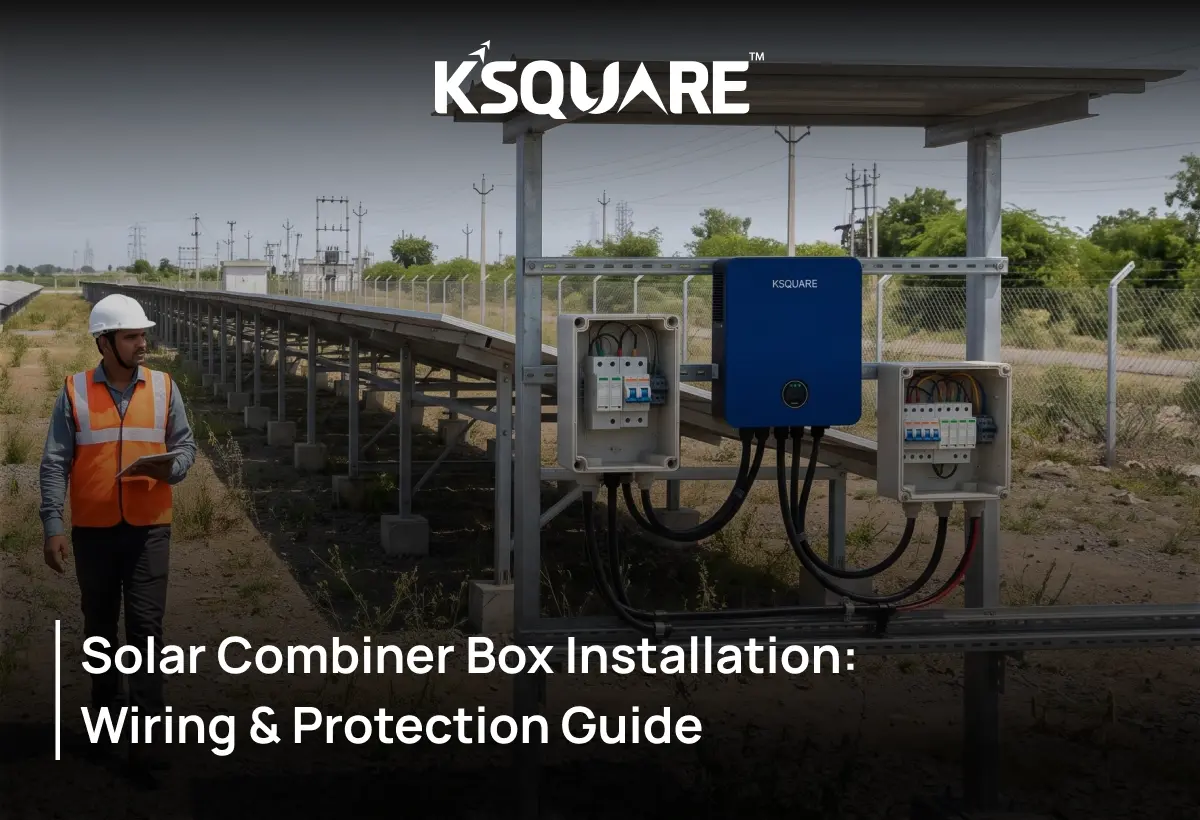
Introduction
If you speak to an experienced PV system installer you'll very quickly find that a fair number of the calls you get are actually down to the transmission box (the so called 'grey box' of the array) rather than the panels or inverter. A poorly installed solar combiner box can quite happily be working absolutely perfectly for a week or two and then all of a sudden it's going to start to cause all manner of problems (blown breakers, hot terminals, a solar string just going offline etc).
The unit itself doesn't really have any particularly clever solutions, it's all to do with the ability to collect the power, control it and have a single DC output to the inverter. The thing people have a problem with is that it's going to be all about their discipline rather than their creativity. The guide will cover all aspects of the wiring, the operation of the protective devices, the location, the installation and the mistakes that are made, and also why you get the combiner box from a combiner box manufacturer.
What is a solar combiner box and why is it used?
A solar combiner box takes the output of a number of panel strings and combines them into a single output which then feeds into the inverter. Rather than having two wires from each individual string going to the inverter you have all the strings feeding into a combiner box and one cable from the box going to the inverter. The advantages are:
- Tidier, cheaper wiring. You're doing a lot less wiring to the inverter so it's a very sensible and cost-effective option for a roof with a number of panels.
- Centralised protection and control. All the string protection will be in one place, readily accessible and of course providing the appropriate level of safety when you're working on the system.
After the past two or three strings, to have absolutely nothing at all is completely nonsensical. A bit more on the basics for the installers in the form of our solar combiner box guide for installers.
What Components Are Inside a Solar Combiner Box?
Open a well built unit and you'll find a very predictable set of parts, each one doing its one job in the protection chain.
- String fuses (one per string) are used to protect each string against reverse current in the event of a fault.
- DC Surge Protection Device (SPD) Type 1 or 2, wired between the busbars and earth to divert the surges to earth.
- DC isolator / disconnect. Sized to the combined current so the array can be safely switched off.
- Busbars. Properly rated copper, the string circuits joining up into one.
- Cable glands and terminals. Sized and sealed for clean, secure entries.
A word on quality. The quality of the components used in the boxes is by far the most important factor in determining whether the box is going to last the full 25 year life or whether it's going to have failed after just two rainy seasons. Poor quality components (a bad fit fuse holder, a quiet failing SPD, a busbar that is overheating etc) are by far the most common cause of box failure. That's why it's so important to choose your supplier and that's why it's absolutely worth working with a manufacturer that meets certain quality standards.
How to Wire a Solar Combiner Box Correctly
One rule of thumb above all else: the boxes have live DC on them the moment the panels see the sun. There's no switch upstream of the array so you have to treat every string as being live until you've proven otherwise.
Once safety is established, the wiring logic is the same on every job:
- Every positive wire is on a separate fuse, so you must know the polarity (positive wire should connect to positive wire and negative wire should connect to negative wire). Connecting wires into the opposite polarity is an old, dangerous mistake.
- The positives are fused and connected to the busbar for positives, and negatives are fused and connected to the busbar for negatives.
- The end result is that the output is passed through an SPD and then a DC isolator as one output.
Strings in, fuses, busbars, SPD, isolator, output out. Say that sequence out loud and the whole wiring is clear.
What protection devices are required in a solar combiner box?
Three devices carry the real load, and a proper install includes every one:
- String fuses (one per string, rated at roughly 1.5 x the string's short circuit current) are used to catch the reverse current before it can damage the module.
- DC surge protection device (between the busbars and earth) to divert the lightning and switching surges away from the inverter and panels.
- DC isolator. Gives you a clean, controlled way of de-energizing the array for servicing.
Underpinning all three is proper earthing. You simply can't have a good installation without a good earth bond. Every device is only half the job without a good low resistance earth bond and so earth bonding is treated in exactly the same way as the live wiring.
One distinction that still confuses people on site:
- The panel side combiner is a DC combiner box for a solar system, incorporating DC fuses, SPDs and isolators for high voltage DC where an arc will not self-extinguish.
- The box which combines the inverter outputs after conversion is a separate AC combiner box for the solar system, built around AC breakers. Same concept, different components, not interchangeable.
Where should a solar combiner box be located?
The positioning of it is probably the least appreciated of all the things that happen to it and yet it is undoubtedly the least important factor in determining how long the box will ultimately last. Heat and moisture will of course take their toll on the insulating materials over time. There are some basic rules to follow:
- Keep it away from direct sunlight by placing it underneath the modules or underneath a proper canopy on a tracker system.
- Ensure adequate ground clearance to keep the monsoon water out.
- Keep it as close to the strings as possible in order to minimise the length of the DC wires.
- Make it accessible for service purposes at a later stage.
A practical example illustrates the issue. For a 250kW roof installation in a Surat textile factory, we installed four eight-string combiner boxes at the edge of the solar array, all connected to one central DC distribution box. With string monitoring coming into place right from the start, one string was noticed to be performing 40% less than others within the span of about six months. The problem was traced back to a damaged MC4 connector providing high resistance and quickly rectified. The fault could be detected at an early stage due to the correct framing of string monitoring. There’s the kind of attention to detail that Ksquare Energy provides, providing consumers with not only high-quality boxes but also appropriate advice on their installation.
Solar Combiner Box Installation: Step-by-Step Process
With the wiring logic and placement settled, here is the on-site sequence, in order:
- Confirm the strings are open or de-energized (don't assume! Treat the DC as live until you've proved it's not). Mount the box in its chosen location (shaded, not prone to water-logging, close to the strings, accessible).
- Each string should be connected on its own fuse with strict attention to polarity. Likewise, busbars must have the right connections: positives must be connected to positive busbars and negatives to negative busbars.
- The SPD should be wired to the busbars and connected to an earth, whereas the isolator must be connected to the output of the SPD and to the earth of the enclosure.
- Torque every terminal to spec. A calibrated torque tool is to be used rather than feel as loose terminals are the reason for the majority of the heat faults.
- Seal every gland, label the box. Keep the box dry and free from dust and make the next service visit as easy as possible.
Common Solar Combiner Box Installation Mistakes to Avoid
The same errors bring installers back to site, and every one is avoidable:
- Mounting in direct sun. That will push the internals well past their temperature ratings and age them prematurely. Shade it.
- Reverse the string polarity. Easy enough to do under time pressure, genuinely dangerous. A polarity check prior to energising is an absolute necessity.
- Under-torqued terminals. That's by far the number one cause of hotspots and scorched connections. Use a torque tool.
- Poor gland sealing - allows water and dust in and moisture inside a DC box is where the faults start.
- Just skip the SPD and the earthing completely and you've left the entire array exposed to the first strike from the nearest strike.
- No spare inputs. Fill every input and the next expansion is going to be a full box replacement.
Almost all of them are down to sheer haste so the best thing to do is just to slow down on the bits that aren't visible.
How to Choose the Right Solar Combiner Box for Your PV System
Match the box to the array, not to the cheapest unit on the shelf. Run the decision in order:
- Count the strings, then add a spare input or two so that should we need to extend the system in the future, we don't end up with a situation where we have to replace the whole thing.
- Size the fuses from the short-circuit current of each string.
- Size the isolator and busbar from the total current with a reasonable margin.
- Set the voltage rating to your system's maximum (remember panel voltage goes up in the cold so the worst case is the coldest morning).
- Choose the rating enclosure: IP65 or IP66, UV resistant, built for the Indian heat and monsoon.
For the full framework with the sizing maths in detail we go through it properly in our guide on how to select a solar combiner box. If you get the box right then the installation itself becomes a lot easier.
